
Power off, cabinet opened
The disconnect is pulled before anything else. The fan and top come off so the coil can be reached from the inside — which is the only direction that actually pushes the dirt out.
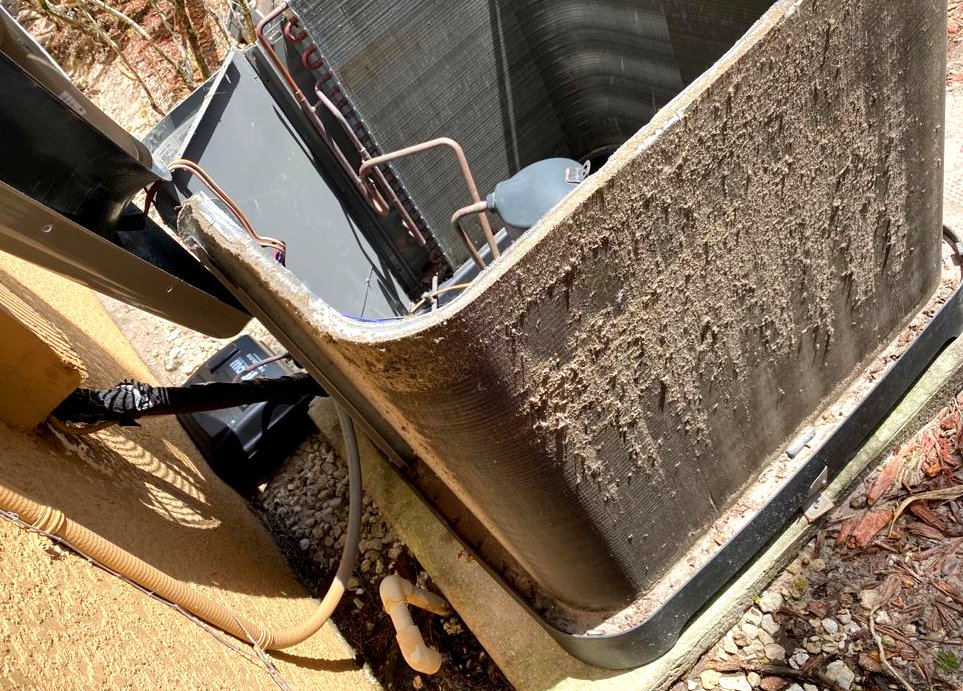
Spraying foam through the access panel is not a coil cleaning. When a coil is loaded, it comes out of the cabinet, gets washed outside, and goes back in — which means the refrigerant circuit gets opened and has to be put back correctly.
Every photo below is from our own jobs. This is the work you are paying for, and the part most companies never show you.
People hear "coil cleaning" and assume one thing. There are two, and they are not comparable.
The condenser outside gets cleaned in place. Power off, top lifted, washed from the inside out, reassembled. Nothing in the refrigerant circuit is opened. It's part of a routine maintenance visit.
The evaporator inside is the one that has to come out. Opening the sealed circuit is what makes it a different job, with a different price — and the reason it's only recommended when the coil condition actually warrants it.
We don't recommend a pull-and-clean from across the room. We measure the temperature split and the airflow, look at the coil face, and show you what we're looking at before anything is quoted.
If a filter change and a light surface cleaning will restore it, that's what we do.
No refrigerant work, no cutting. Four steps, about an hour.
The disconnect is pulled before anything else. The fan and top come off so the coil can be reached from the inside — which is the only direction that actually pushes the dirt out.
The mat of lint and grass comes off by hand before any water touches it. Wetting it first just drives it deeper into the fins.
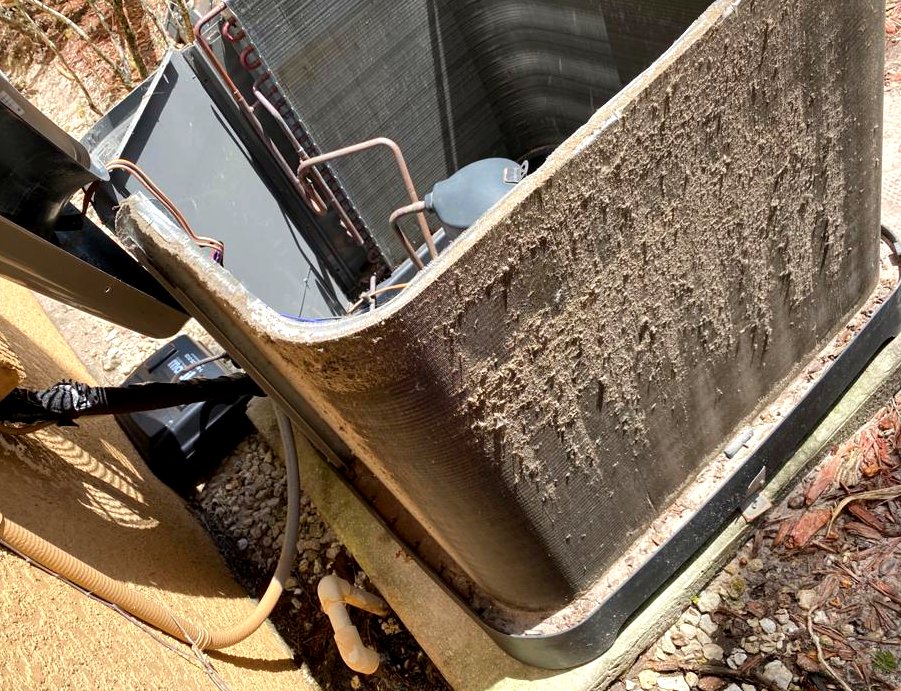
A foaming coil cleaner goes on and is given time to lift what's bonded to the aluminum. The foam turning brown is the dirt coming out of the fin pack.
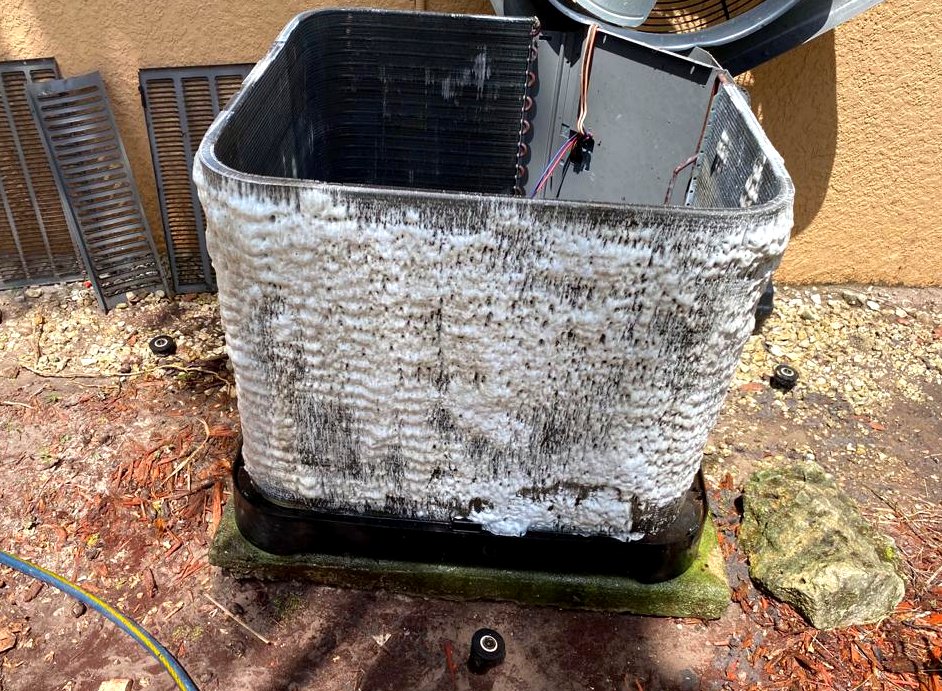
Water goes in the same direction the air does not — from inside the cabinet outward. Then the fan goes back on, the disconnect goes in, and we take readings to confirm the head pressure dropped.
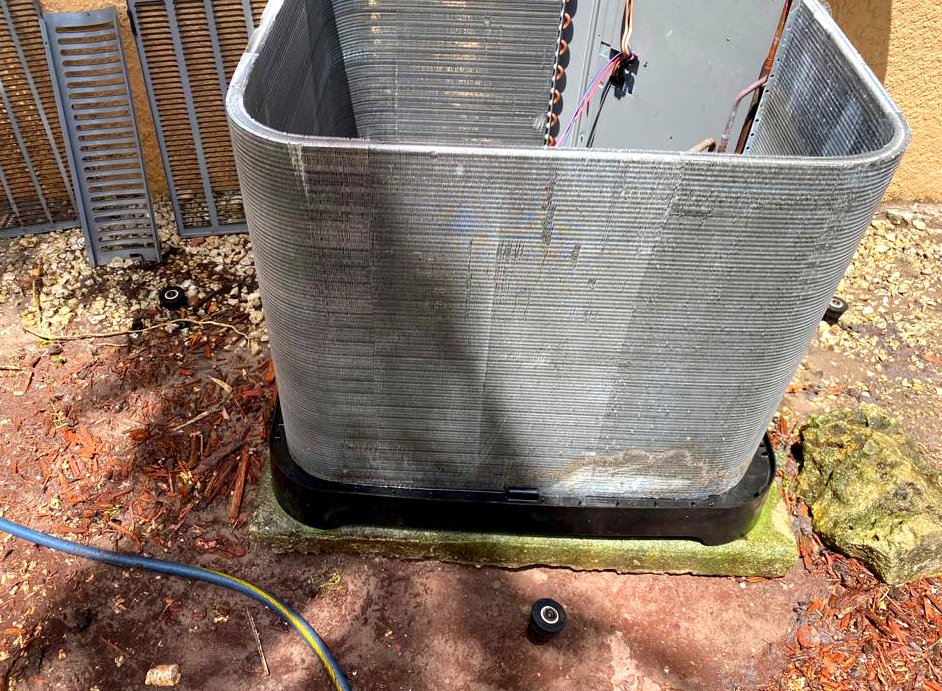
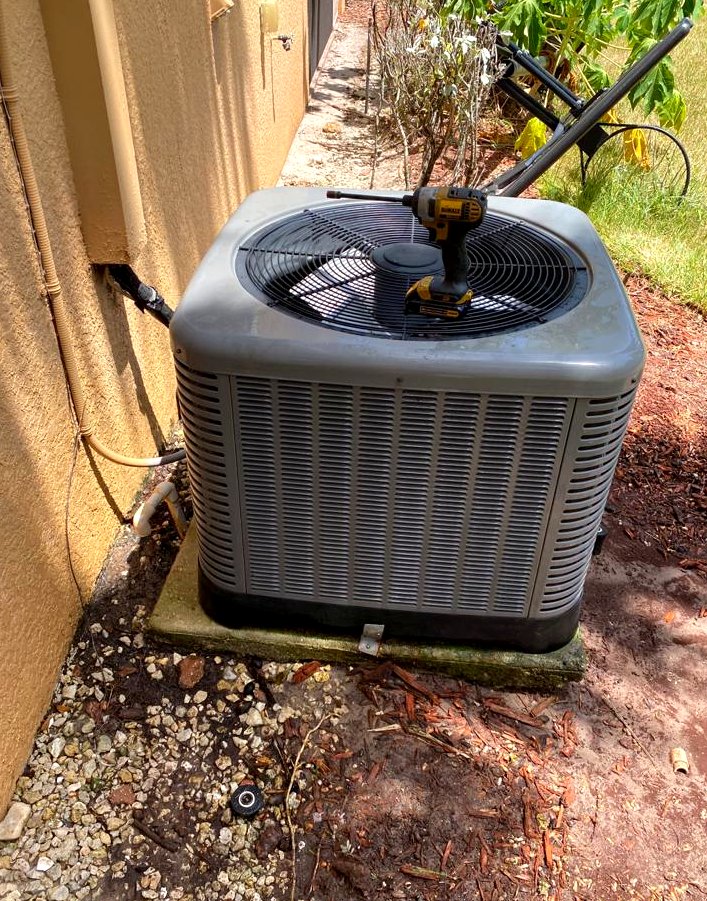
Nothing was opened, so there is nothing to evacuate or recharge. The system restarts and we verify the numbers before we leave.
This is included in the $99 annual maintenance visit.
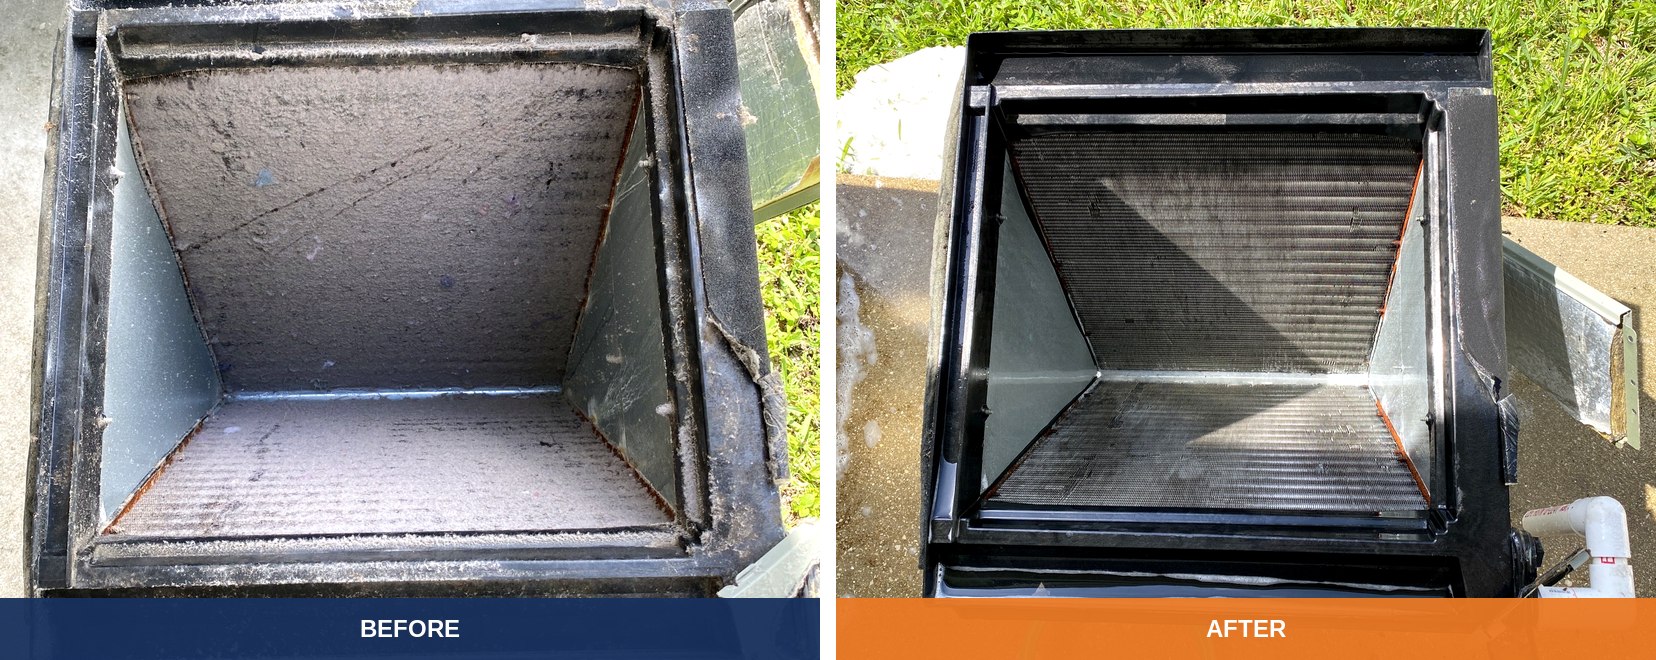
Same coil, same angle. That grey blanket is what the air had to push through — and no amount of spraying through an access panel was going to move it.
This is the job that opens the sealed system. Done right it takes most of a day; done wrong it shortens the life of the compressor. Here is the whole sequence.
The charge is pulled out into a recovery cylinder with a recovery machine and weighed. Venting it is illegal under EPA Section 608, and it is also just throwing away something the customer paid for.
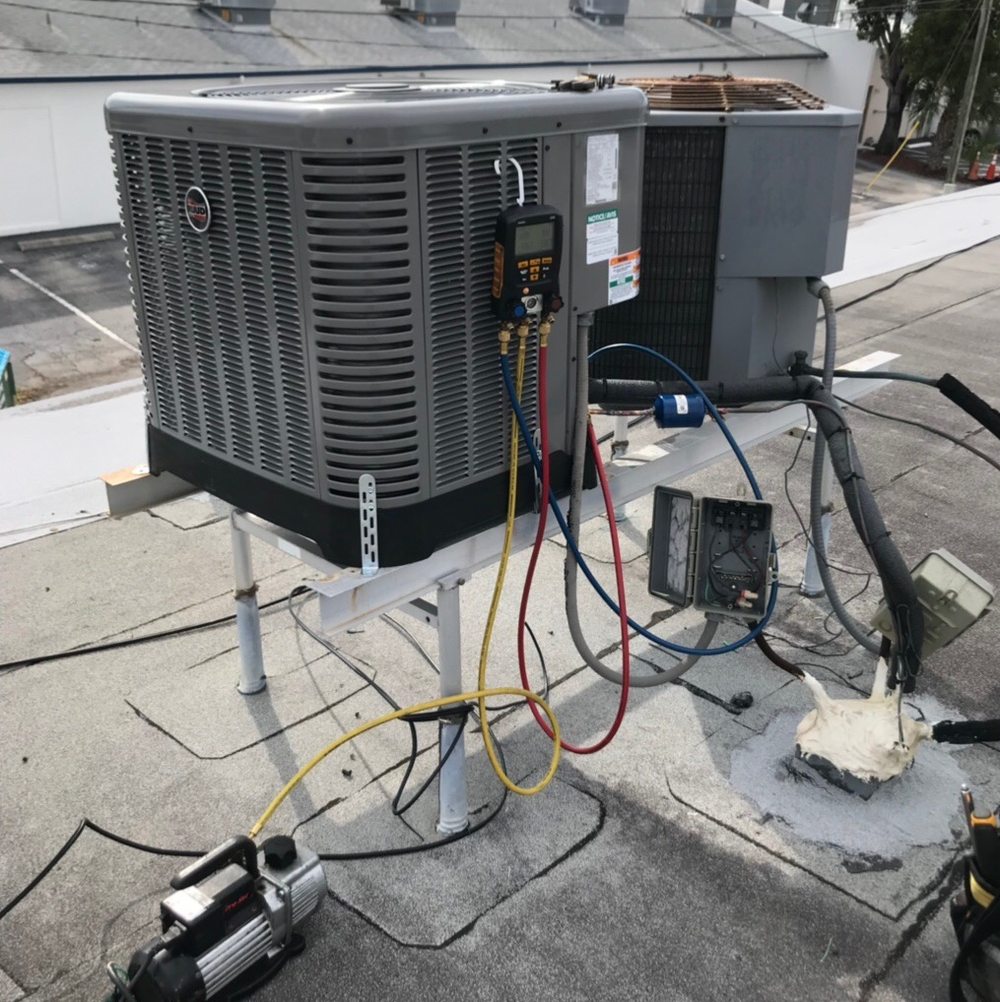
The condensate line comes apart at a union we can rebuild. Then the suction and liquid lines are cut cleanly with a tubing cutter — never a torch, never a saw, because filings end up inside the system.
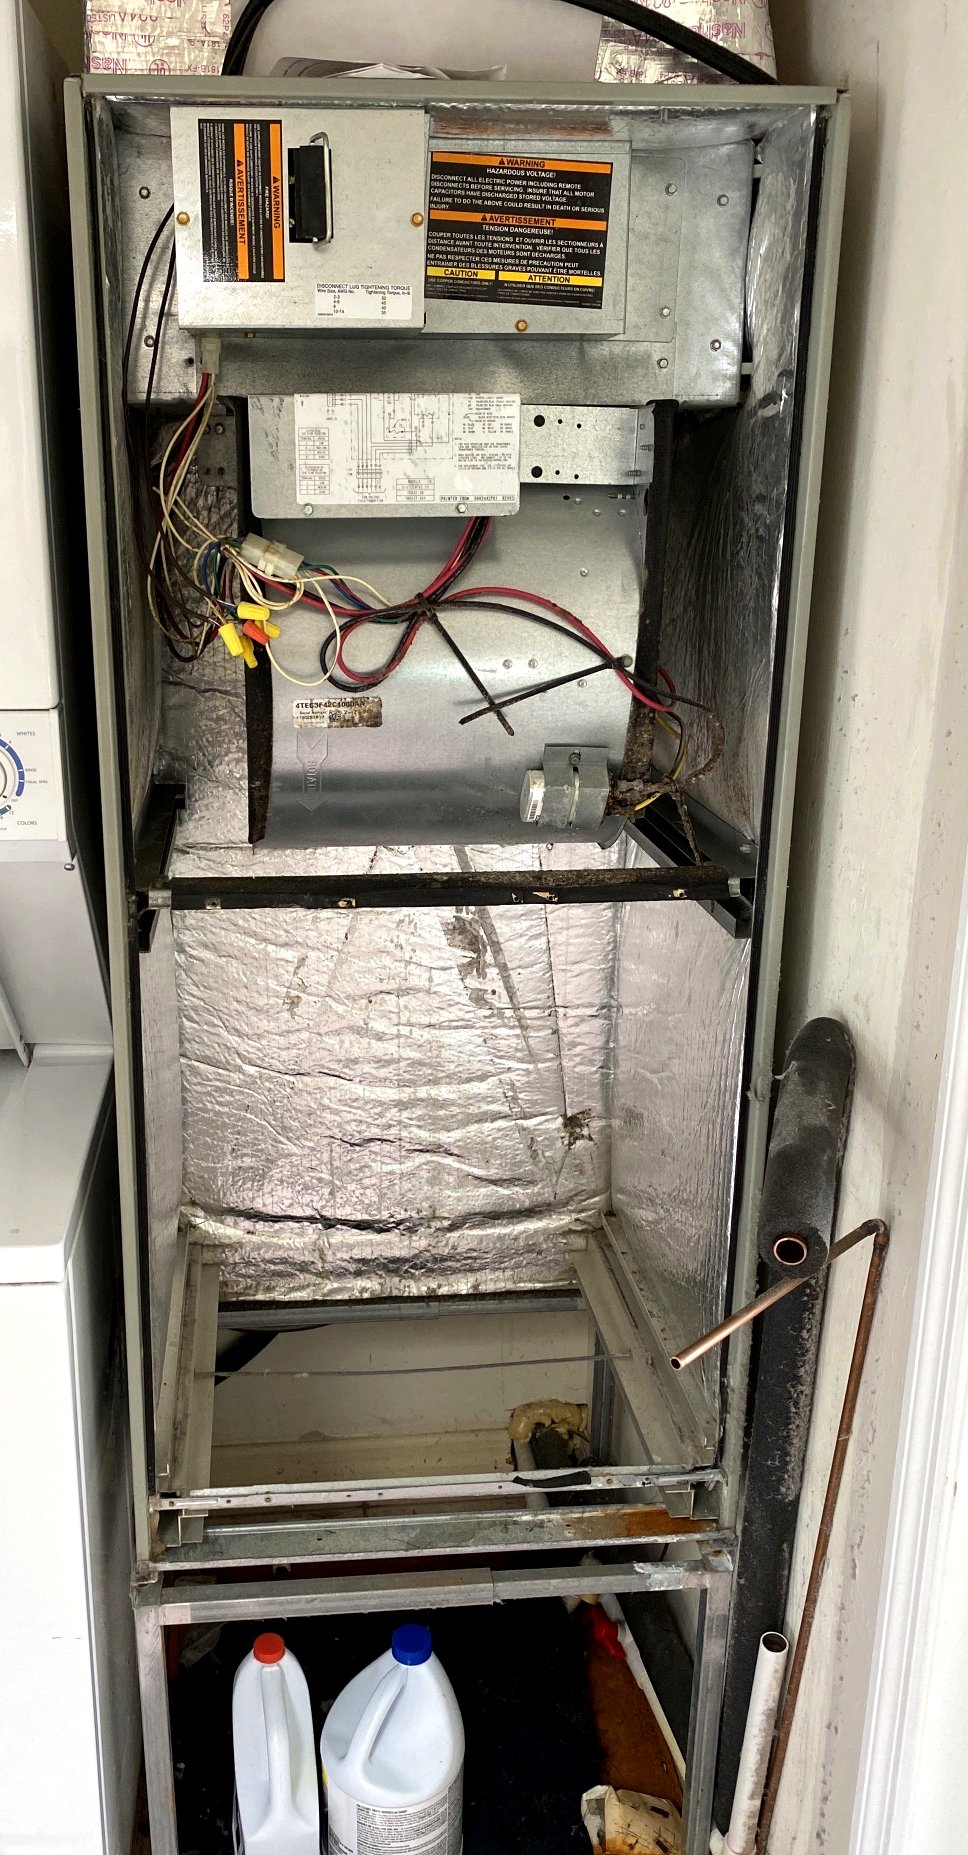
Slide it out without bending the fin pack or dragging it across the drain pan. The metering device stays with the coil. The open line ends get capped so nothing gets in while it's out.
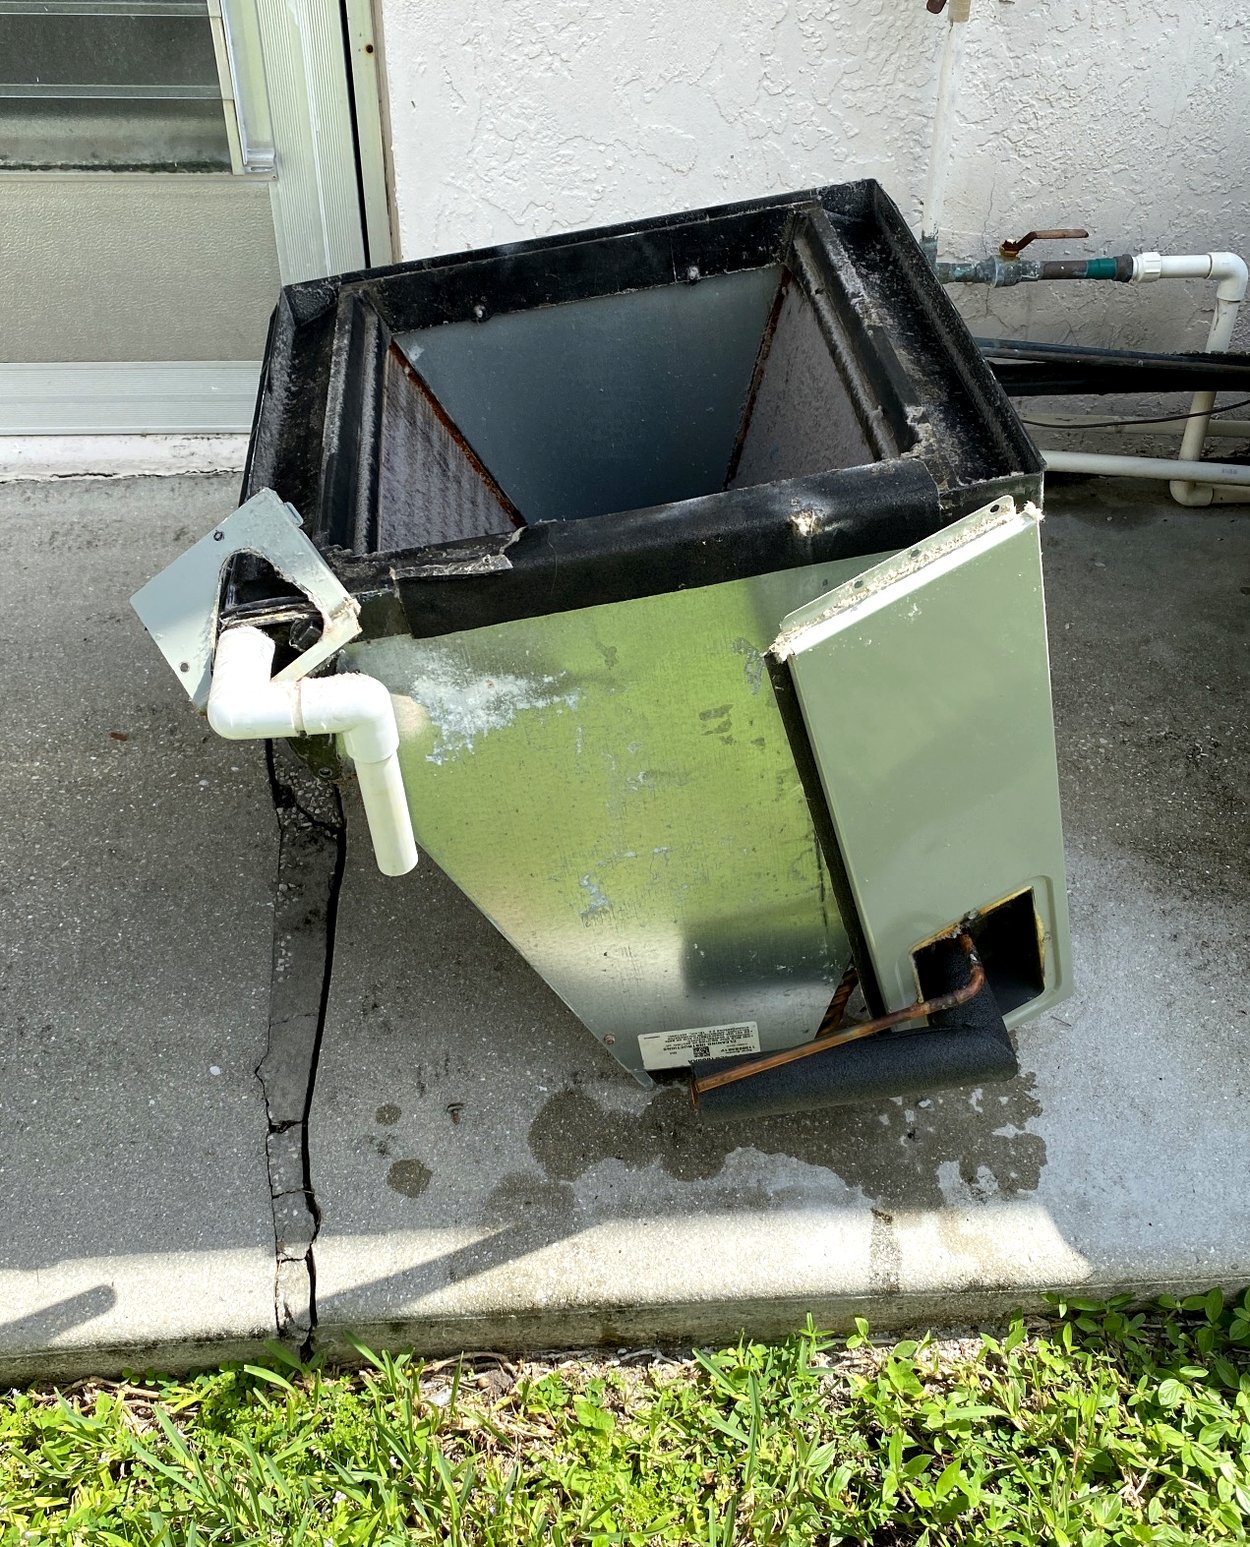
Chemical sprayer, rinse wand, somewhere the runoff can go. This is why the coil comes out — you cannot do this inside somebody's closet without making a mess and without the dirt staying in the fins.
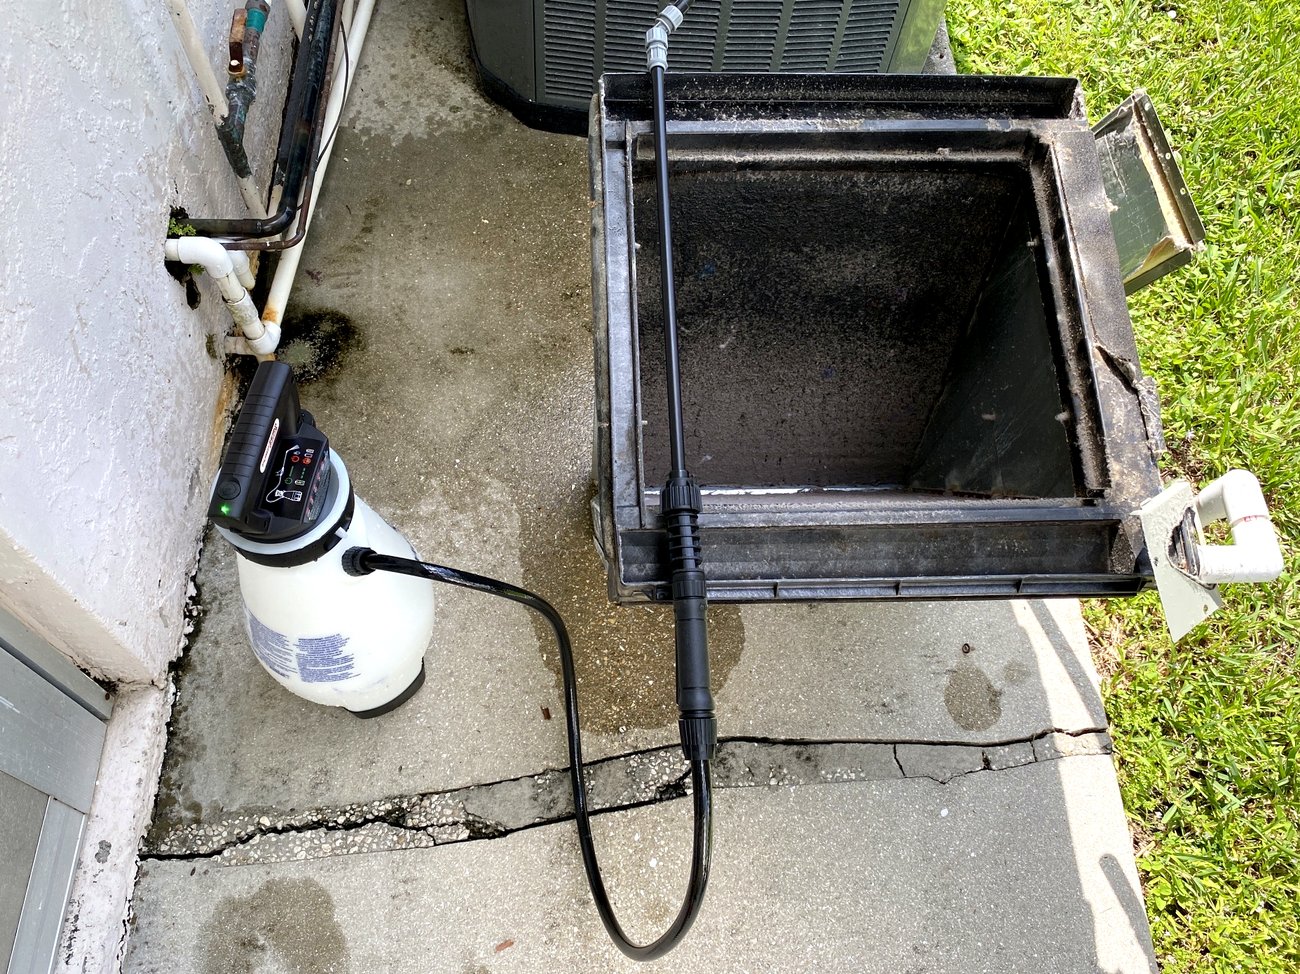
Coil cleaner over the whole fin pack, top to bottom, and then it sits. The foam has to do the work — scrubbing a coil just folds the fins over and makes the airflow worse than when you started.
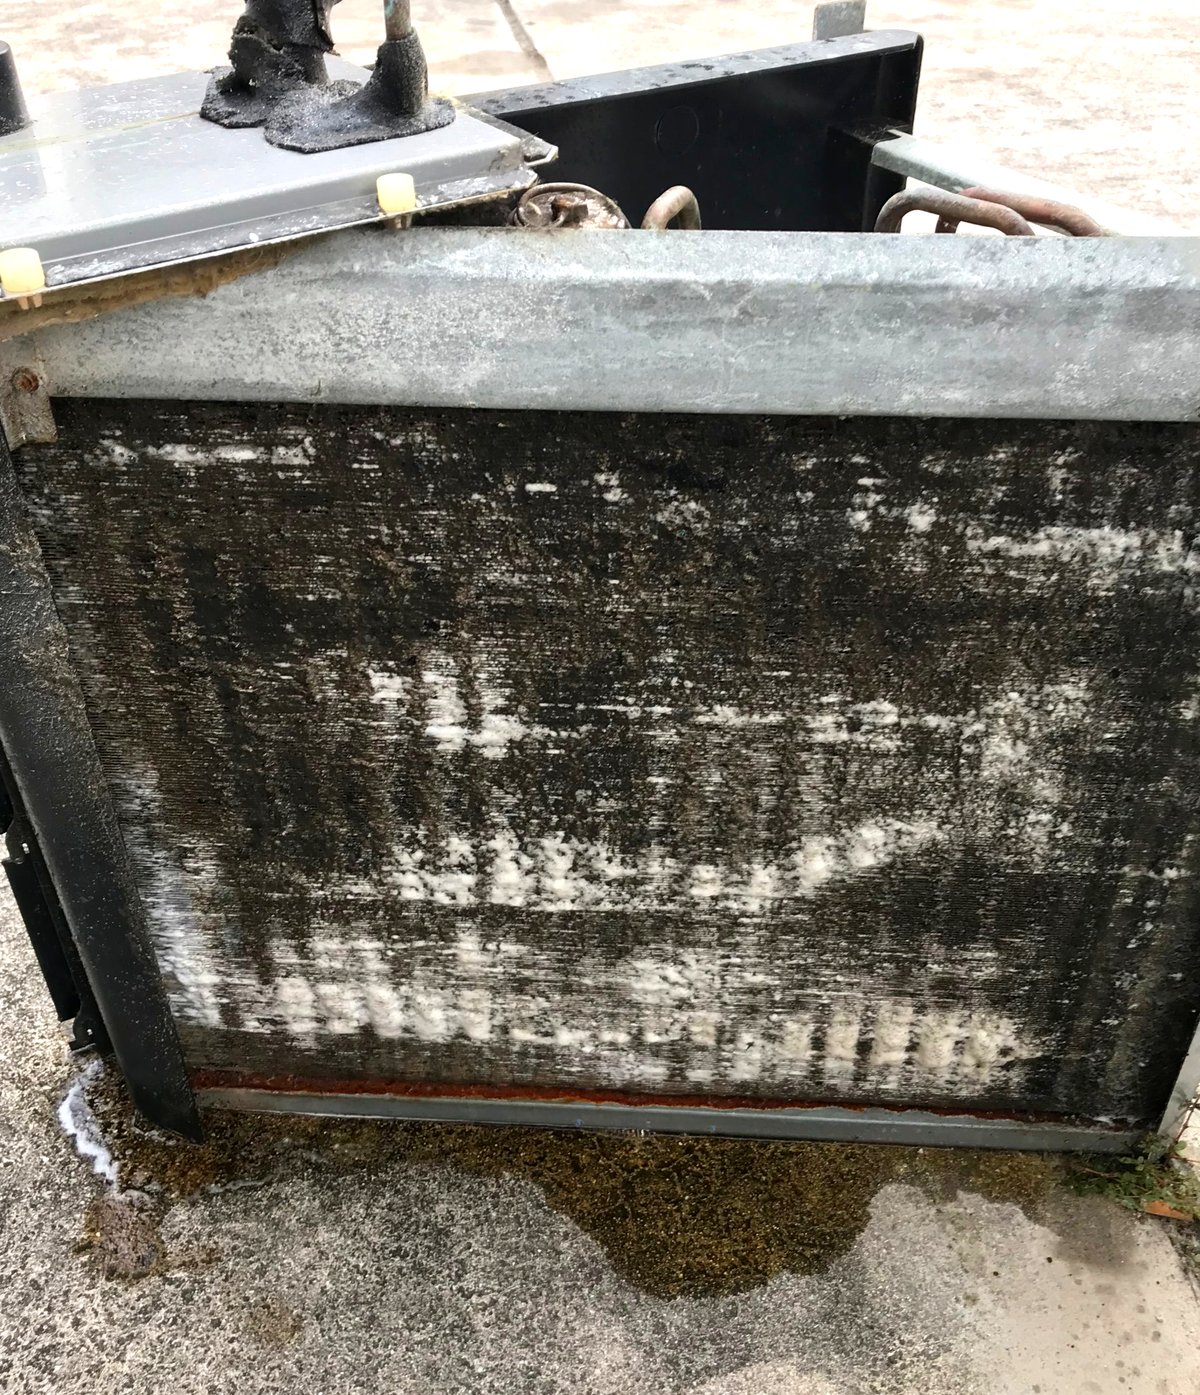
Controlled pressure, straight through the fin pack, until the water runs clear out the other side. You can see the line between done and not done.
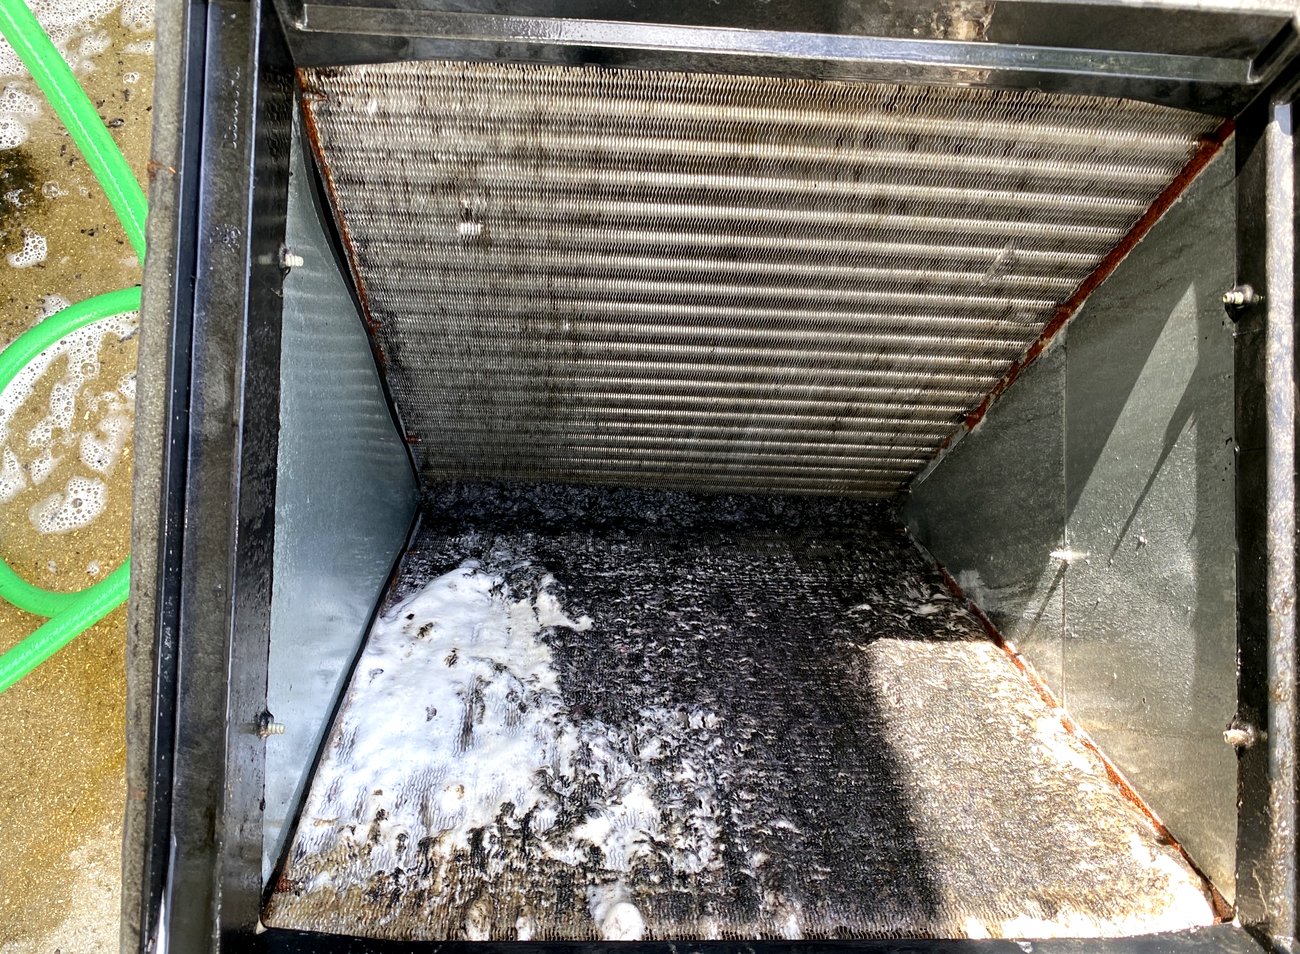
The drain pan gets the same treatment. A clean coil draining into a slimed pan is half a job.
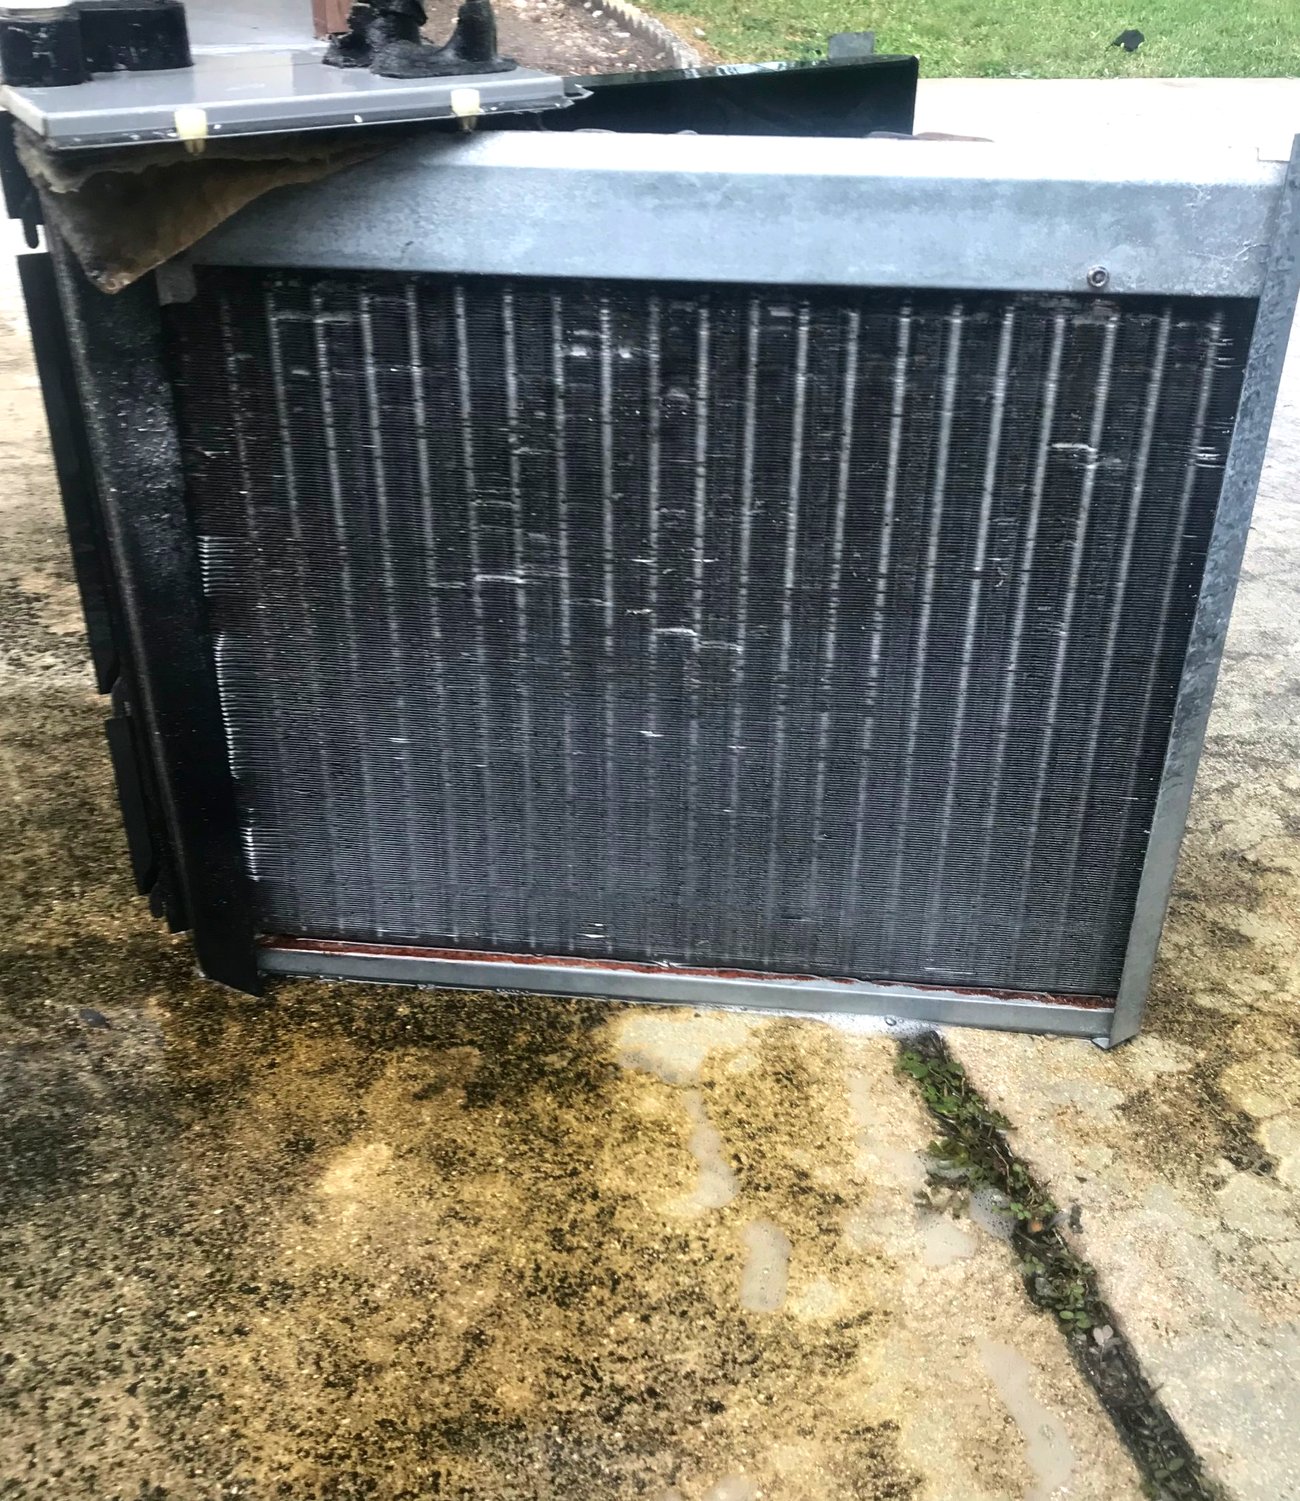
The coil goes back in level and square. While the joints are brazed, dry nitrogen flows through the tubing. Without it the inside of the copper oxidizes and sheds flakes of scale into the system — straight toward the metering device and the compressor.
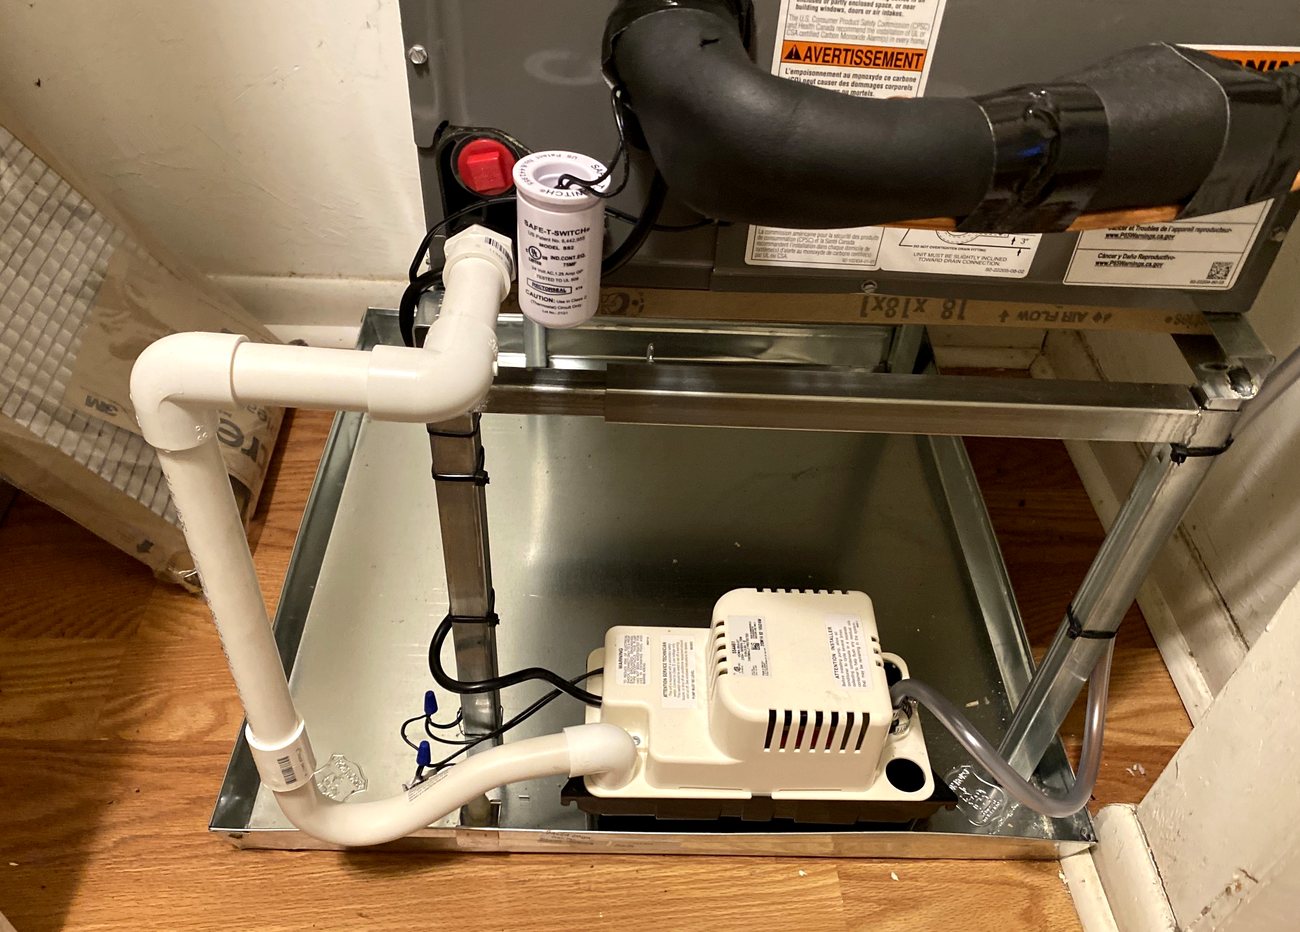
New trap, new cleanout, float switch back in and tested. The drain is the part that floods ceilings, so it gets rebuilt rather than reused.
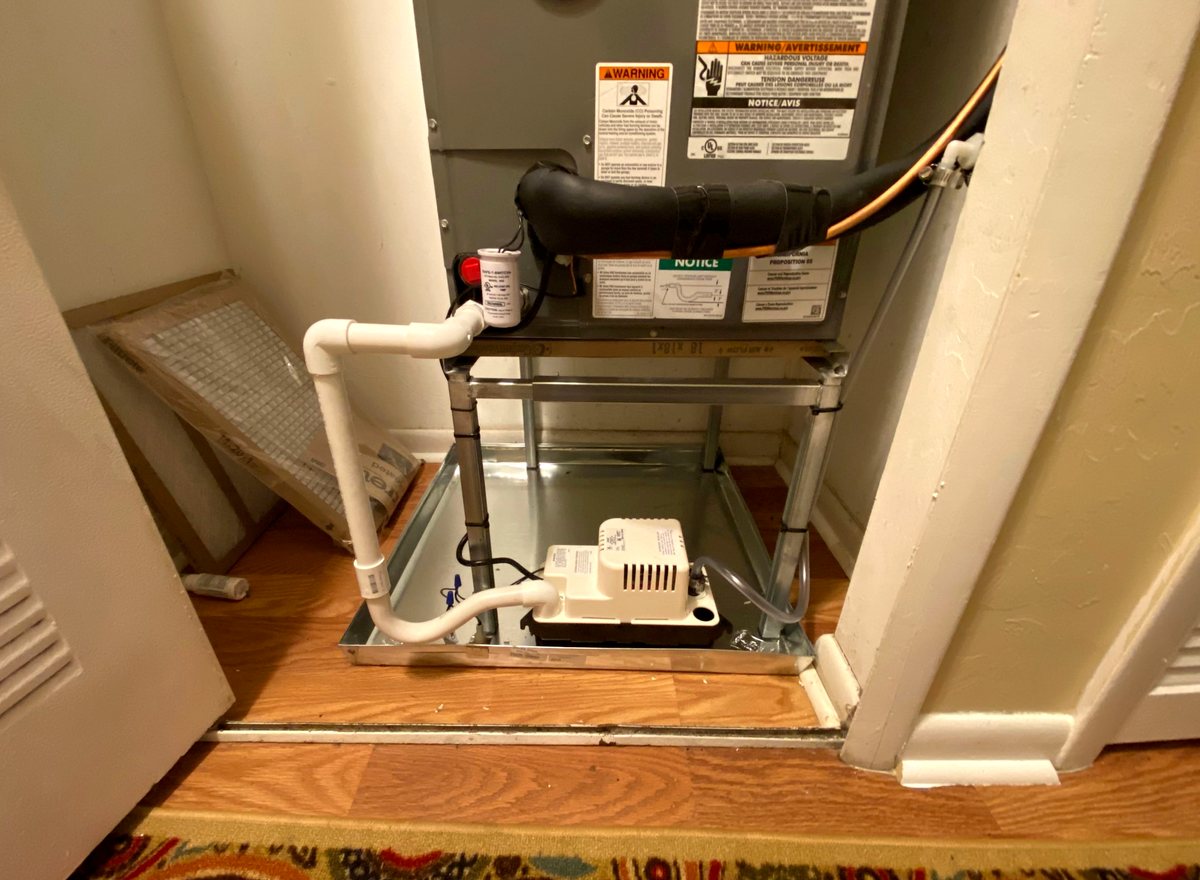
Before any refrigerant goes back in, the system is pressurized with dry nitrogen and held. If a joint is going to leak, it leaks now — on nitrogen, which costs almost nothing — instead of next month on refrigerant.
Cores removed, large-diameter hoses, a micron gauge at the far end of the system. We pull below 500 microns, then isolate and watch it. If it climbs past 1,000 microns in ten minutes, there is still moisture or a leak — and we find it instead of charging over it.
The charge goes in by weight, to the manufacturer's nameplate figure, on a scale — not by gauge pressure and feel. Then we confirm it with superheat and subcooling, check the temperature split, and document the readings before we close up.
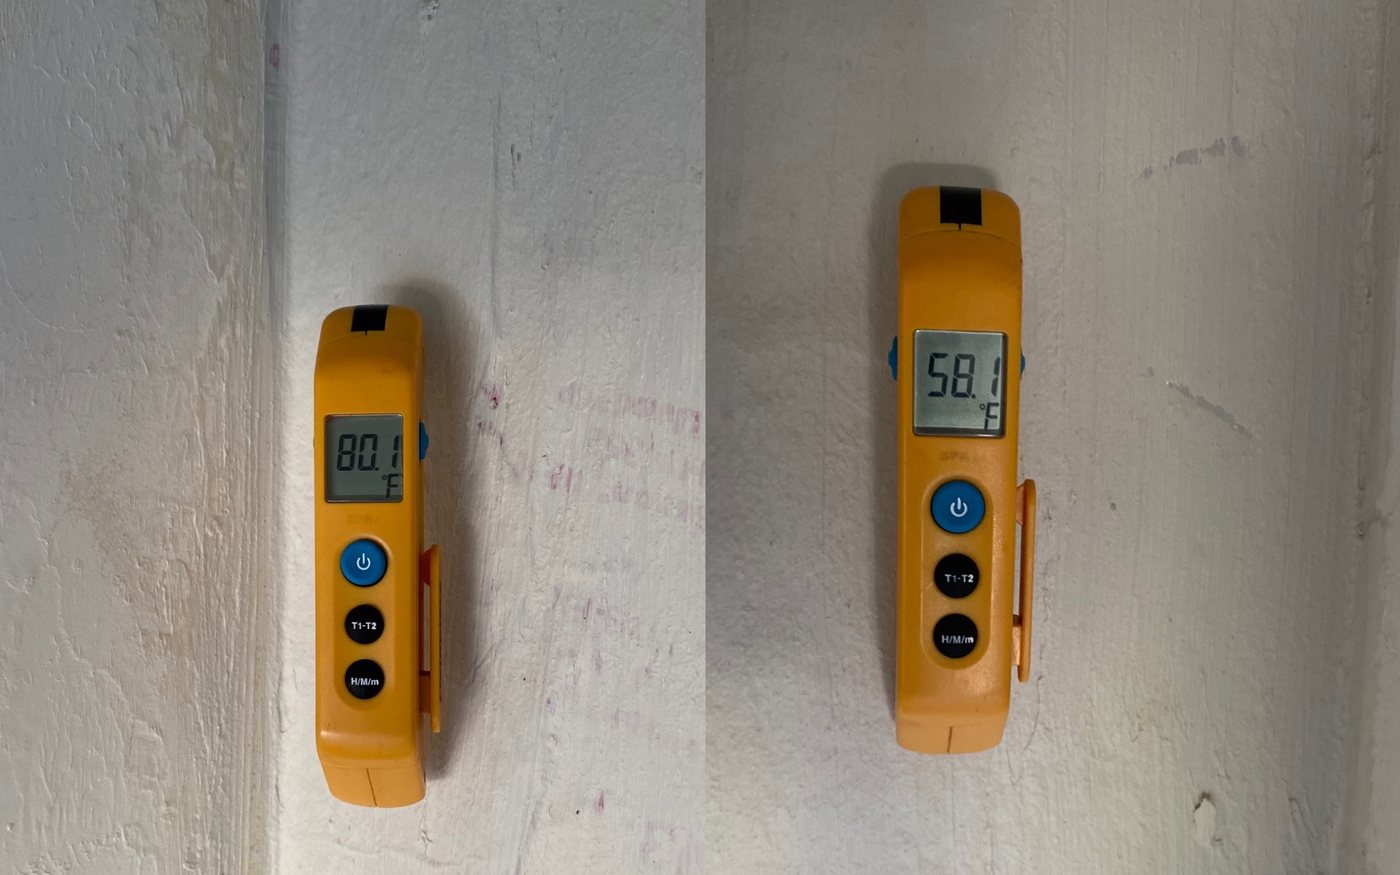
A deep pull-and-clean is not part of the $99 maintenance visit, and we don't pretend it is. It's quoted separately, and only when the coil condition warrants it.
If your coil is lightly dirty, say so to whoever quotes you a pull-and-clean. A good contractor will tell you to wait.
Deep coil pull-and-clean
Winter · scheduled
$245
Summer · emergency
$285 – $350
Refrigerant is quoted separately if the system needs more than what was recovered. Condenser cleaning is included in the annual maintenance visit.